Pedals
reVOLVER IV
Melusine IV
Sound Cartridge
No7 Splitter/Panner
LAB
T-CAB IR Cabsim
TGX4 Guitar Rig Emulation
JAWS-FX
Bong Fuzz
Spacetime Resonator
Šila Fuzz
StarFighter Fuzz
Respirator
Den Agnostiske Fuzz
Hexe Tube Amp
MUSEUM
Vario
reVOLVER DX
reVOLVER DT
reVOLVER II
reVOLVER I
Melusine III
The Carrier
Roboduck
BitCrusher III
BitCrusher III Studio
BitCrusher II
BitCrusher Desktop
Fire Starter
Radar Phase
Wolfshade Chorus
Spacetime Modulator
DIY
Guitar Gear
Bass Engine
Tadek the Compressor
Night Train OD
Scream Machine
SE33 Speaker Simulator
Speaker Load Emulator
Utility
Automated Wire Cutter
FV-1 devRemote
Basestar FV-1
FV1 Program Selector
Dev_LOOP
Power Monitor
Tech Info
Software
Contact
Home
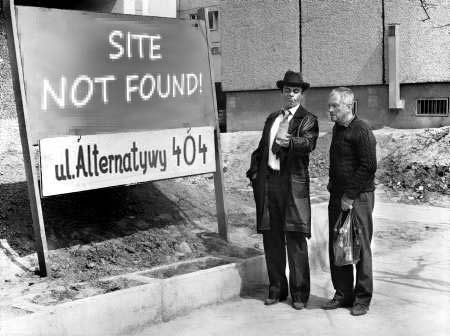
404
404
Home
404